Showing posts with label DIY. Show all posts

Wednesday, July 11, 2012

Umbrella holder

In my limited space studio garage, i need to find a way to quickly access light mods.  I've been thinking about putting up shelves for a while but have balked at the idea for unknown reasons. So today, hellbent on making the shelves from spare lumber in my shed, so I went out back.  I found some old tubing and got the idea of making umbrella holders.  The tubing was too small, I thought about grabbing some PVC pipe but had none on hand. Then I remembered we had some cups left over from my boys birthday last week.  Find a board, Grabbed some cups and Bingo! Idea was hatched.

So: 
1. Cut out bottom to plastic cups- box cutter works nice though I did try out my new multi-tool for the first time.
2. tape bottoms to prevent snags and cups from tearing apart.
Mount using Staples, from a gun, not a stapler.
3. Use a staple gun and staple cups to board. I fit 2 up top and one in the bottom.  I used a flat iron and hammer to make sure the staples were in good.
4. I had one umbrella that was too small to fit into the holder, so I found a spiderman cup.  Also ran out of duct tape and decided to make the core a holder of some sort as well.
1X6" board, length to need. 
5. Grabbed a tape measure found where I could get 2 small drywall screws in 16 inches apart (studs are 16")
6. Mount board on wall (either they didn't use 16" spacers in the wall in my garage or I just missed my measurement cause I didn't hit home-but it held nonetheless)


Hang on Wall

The nice thing about this is, the umbrellas pull through. I can grab at the bottom and tug;a one-way street, so to speak.

Job 2: a corner rack that holds shovels was sitting unused in my shed.  I washed it up, trimmed out the holes and walla:


Yeah for organization!

Enjoy,
Chad

Tuesday, June 26, 2012

fiddy cent sand bags.$0.50

$0.50

Sandbags were a big need for me; I didn't have any and I tend to shoot outside. Throw in an outdoor wedding an a week of moderate winds I was in a pinch.  So a trip to the local rock distributor with a five-gallon bucket resulted in fifty cents worth of sand.  

The bags were constructed from sleep pants that have built up to ridiculous levels in my drawers.  So, tie the legs off at the bottom, really work the knot down.  Fill the legs up with sand, cut with scissors and tie the top.  Done.  One 5-gallon bucket resulted in 5 sandbags and a tighter filled stabilizing bag for shooting. 

Enjoy.

Friday, April 20, 2012

Umbrella Mount Mod

So, my
Fell off my 
 
and broke. I love the Westcott Apollo orbs, but do not like the umbrella attachment. It comes unscrewed and speed-lights die.  I also have an issue of one not tightening down on the umbrella. 

Anyway, I drove to a local camera store (2 hours away, I was up there any way so) stopped in to see if I could home how to attach my 

There was an adapter, for about 15 bucks.

I then went to my local hometown hardware store, the kind where the old men sit surrounding the door and took a look.

After a short discussion, we opted for a 1 1/2 in carriage bolt and cut it to about 1 inch.

I brought the threaded part home and connected it to the umbrella mount.


Then, the 

was placed on 


and it made a perfect fit
now, no more speed-lights have to die.  Because honestly, who can afford that?

Total cost? 12 cents per carriage bolt. They cut it for me free.  I bought 2, one for each umbrella mount.  Cost for 2 adapters at the camera store, about $30.

Now, if you like living on the cheap, stop by Larry's Cheap shots for more ideas like this one. :)


Sunday, November 6, 2011

DIY Mini Cyc

After viewing some Mini Cyc's out of the B&H magazine, I thought there could be a cheaper alternative.

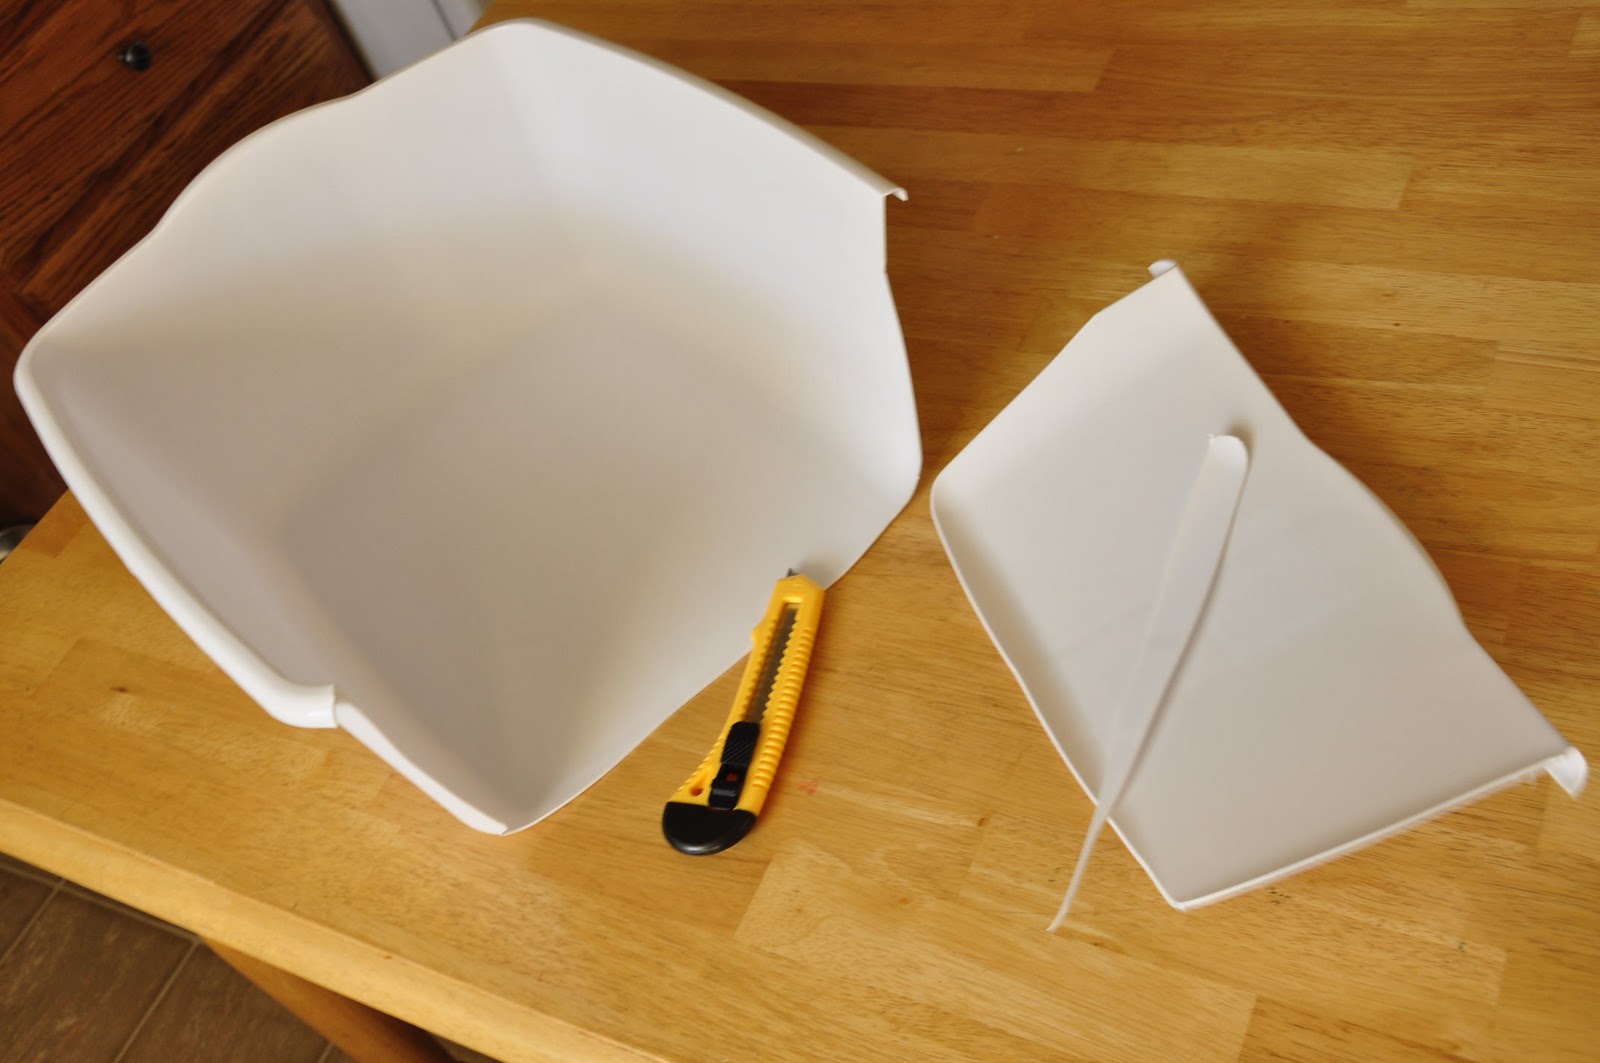
Fast forward: Stopped by Walmart to pick up some totes and saw this:


 Decided to make a few adjustments:


Took a trip into the boy's room.  Placed the Cyc on the porch in full sun and shot this.

Used lightroom to bring more contrast and clarity.  I"m sure with a little PS work the shadow of the domed bottom would be of little significance.

As done below, and throw in a little B+W for fun...


(Disclaimer: My monitor sucks, and I can't see the shades of white.  After 10 uploads, I think I have it as close as I'm gonna get it.  New Monitor is placed on my Wish List. If it doesn't work this time, I"m painting my mini-cyc black!) p.s. close enough for now, got a kid on my lap and work is waiting...still like to fix the shadow and make it more natural, but that'll have to wait.
Enjoy:

Sunday, October 16, 2011

Garage to Studio Remodel

Here it is Finally! 
If I've learned anything about makign a how-to video, is to watch how-to videos on how to make a how-to video.  You'll see what I mean. ;)

Some Portraits taken in said studio

BTS description to accompany video of studio build part 1

The lamp I made that is used in the video

Reason I keep saying Part 1, part 2 would be the adjacent wall drywalled and painted. Extending the floor out another 4 feet and trying to make it all seamless.

Now on to the video!

Sunday, July 10, 2011

Glass vs. Plastic Reflectors

Recently purchased a glass frame from walmart for 3 bucks. Was wanting to make this:


So I could do this:
Ok, so the black bottom piece in the top photo was replaces by white foam core board for the picture of the butterfly.  With black:

But decided to try it as:


The bottom piece in my super secret macro set up used in many of my reflection pictures seen here:


This is achieved by using a hint from Larry.
my normal set up looks something similar to:

I now use a piece of black foam core for the back ground to avoid getting a variety of color reflections as seen:

(even though I do think this one is cool.)

But, my plastic is getting scratched I keep seeing things like this:


So, I gave the glass a try:
and

I didn't like the double refraction. So I went back to the plastic base:


Ahhh...Clean reflection.

Set up Summary:

2 boxes of baby wipes, painted black.
1 poster frame, painted black.
1 white foam board.
1 11X17 picture frame with black mat.

D90, 85 macro, 2 sb600's and 1 sb700.

Enjoy.

Sunday, April 3, 2011

DIY Beauty Lamp

Ok, finally got things pieced together....

1. Can Light Purchased from Farm Store $8 bucks
2. Full Spectrum Bulb, 4 pk $4 bucks


3. Convex Mirror, Walmart $ 2 bucks


4. Old lamp shade found around the house - duct taped on for testing. Notice hole in center of lamp shade


5. Mirror Placed in bottom of the inside of the lamp shade


6. Sputnik - duct tape on outside to allow sticky mirror to stick.  'Antannae' are zip ties, Can light had holes, I had to drill holes in lamp shade.


7. 'Antannae' get trimmed


Results:

Can light only, no diffuser. Darkened room, light 3' camera left

 Can Light with diffuser, no mirror attachment, Loss off light 1 1/2 stops or so

Can light with lamp shade and mirror, another loss of 1/2 stop of light

 Kid got bored, I was the replacement.
Can light, Lamp diffuser no mirror, notice the highlight on face.
Light just out of frame camera left.

Can light, Lamp diffuser with mirror, notice the lack of highlight on face.

Light just out of frame camera left.

Close in I felt the light did an awesome job. Is some residual heat using this set up, but nothing major. 
Specs: D90, 50 mm, ISO 200, 1/100, f2.8

Thursday, March 31, 2011

DIY

Some recent attempts at making my own beauty dish brought out some DIY tips from shoots past.  Now, don't worry, the Beauty Dish (if you can call it that) will be posted as soon as I purchase some zip ties and finish the assembly.  Inspired by a few trips over to Larry's  As for now.

Light Stand: Old stool high-jacked from previous home coupled with kinetic adolescent strobe attachment. Total Cost - $0 (the kinetic adolescent strobe attachment is designed to resemble a sweet little boy, let me remind you that it is just a replica for aesthetic purposes and is in no way sweet.)

  Reflector (not being used) Car Window Reflector, Walmart. Total Cost-$8

Backdrop White sheet, Walmart. Total Cost - $4

Model Cousin/Neighbor Total Cost - Facebook uploads

Final Cost: 12 bucks.

Finished results:
Stats: D50 85 macro vrII f6.5 ISO 200, 1/60, edited in PSE7